
Real Estate Photo Enhancement with AI
Upscale soft or small listing photos 2x or 3x, then compare textures and edges against the original.
Usually ~30s. Sign in for 3 welcome credits. Credits per result: 4.
View credit packs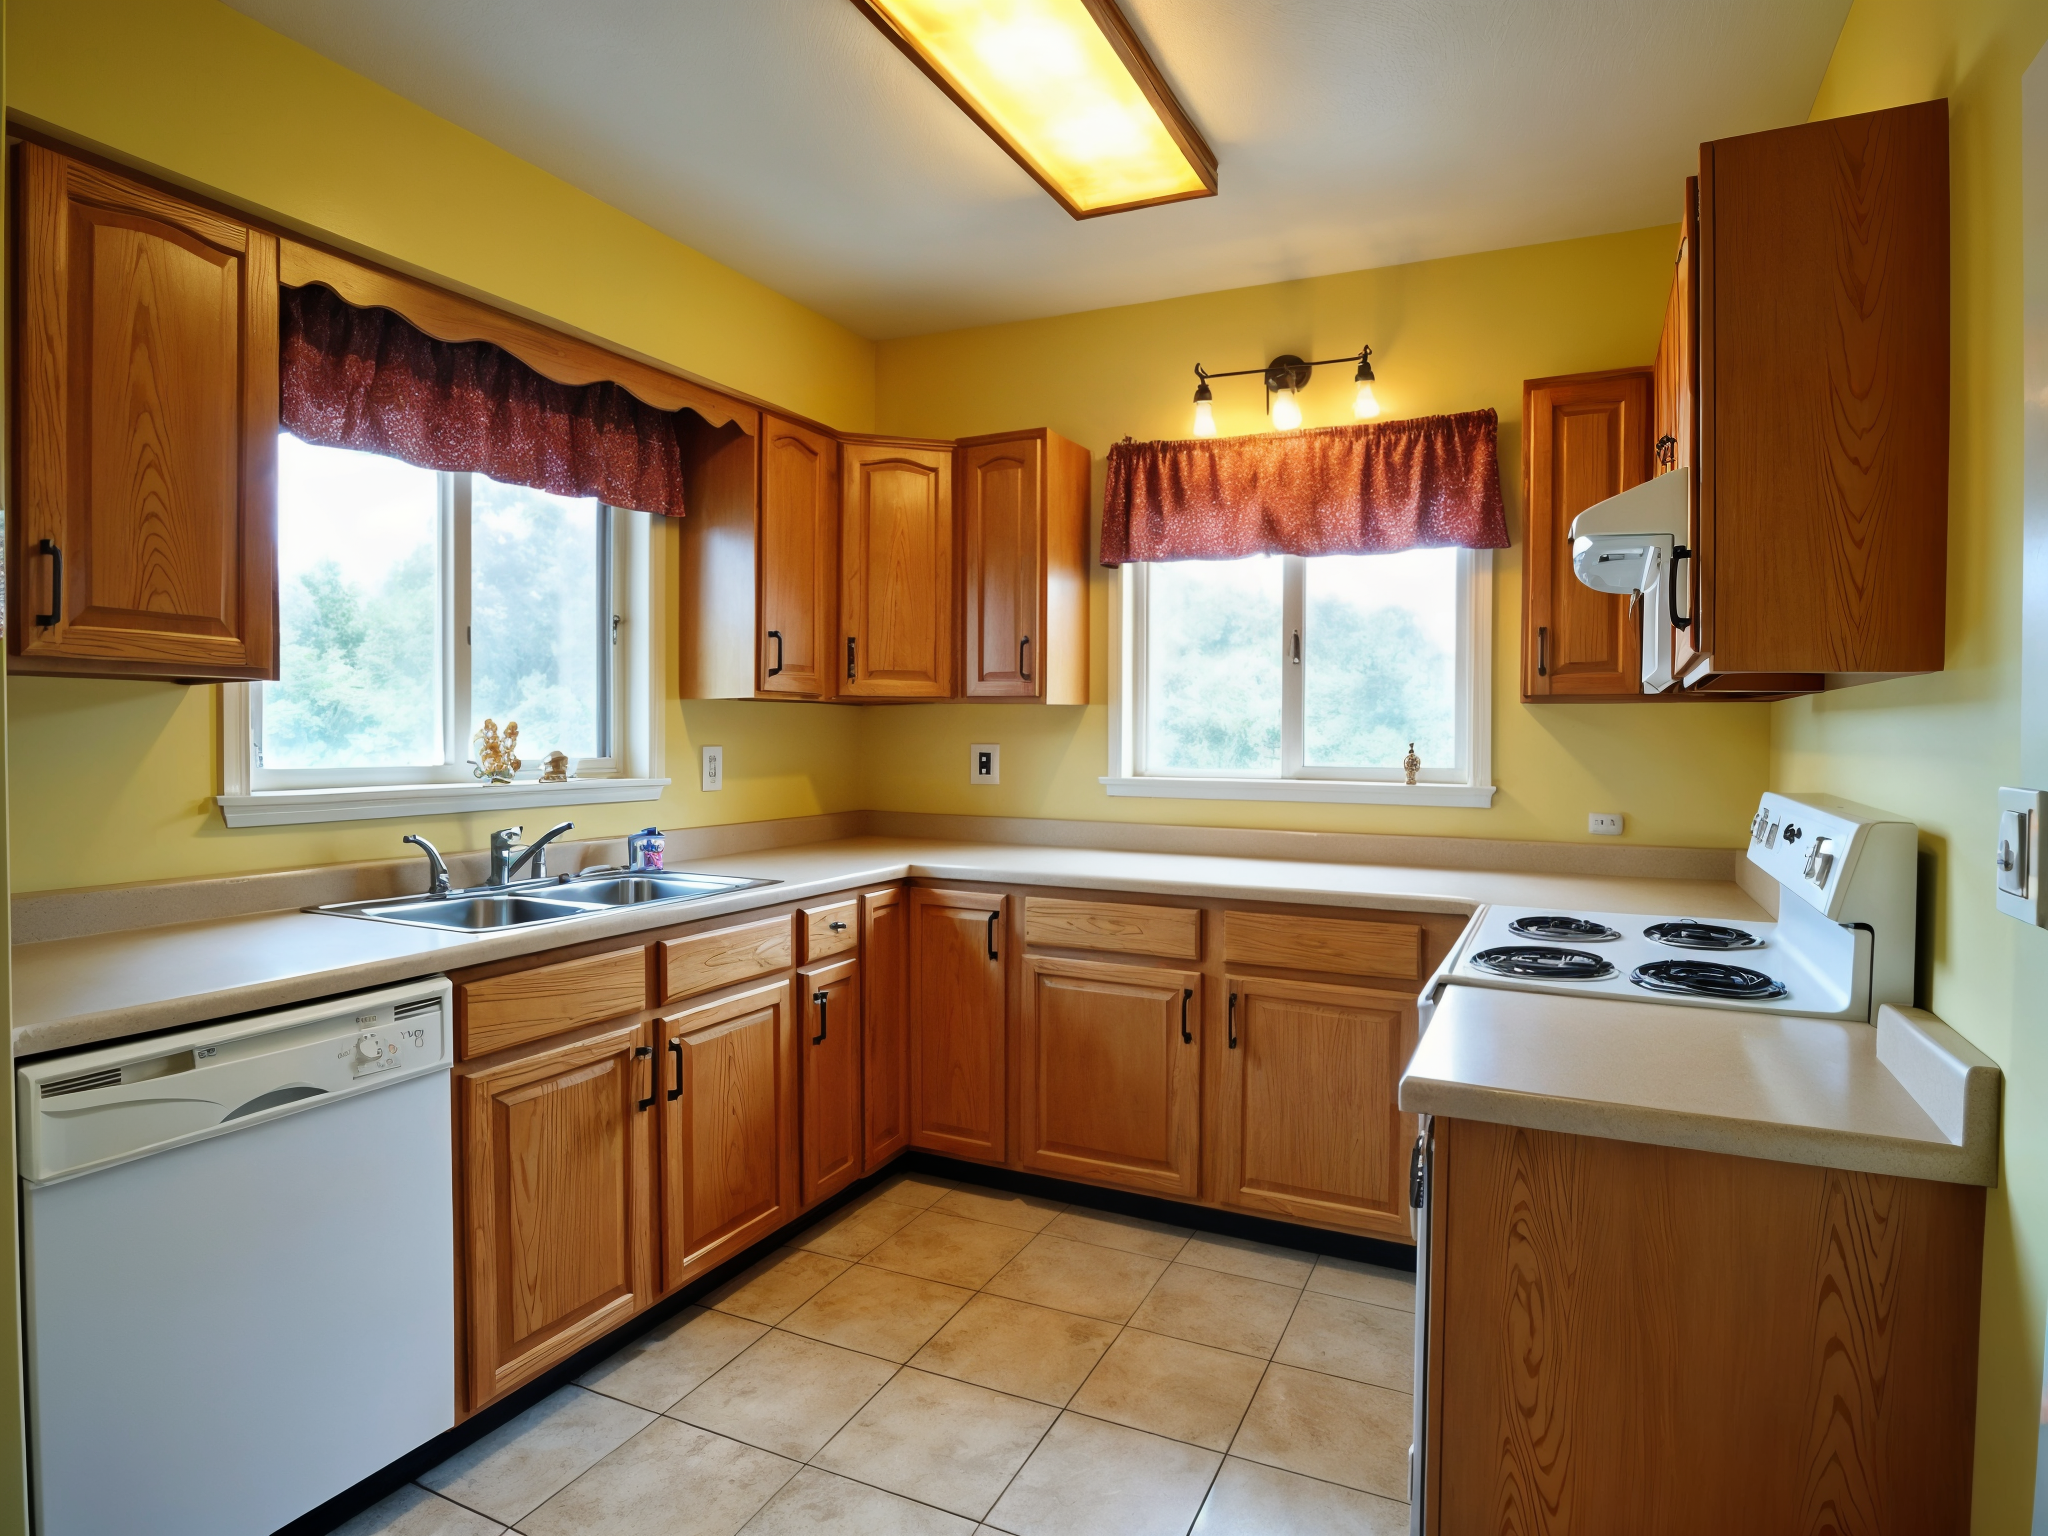
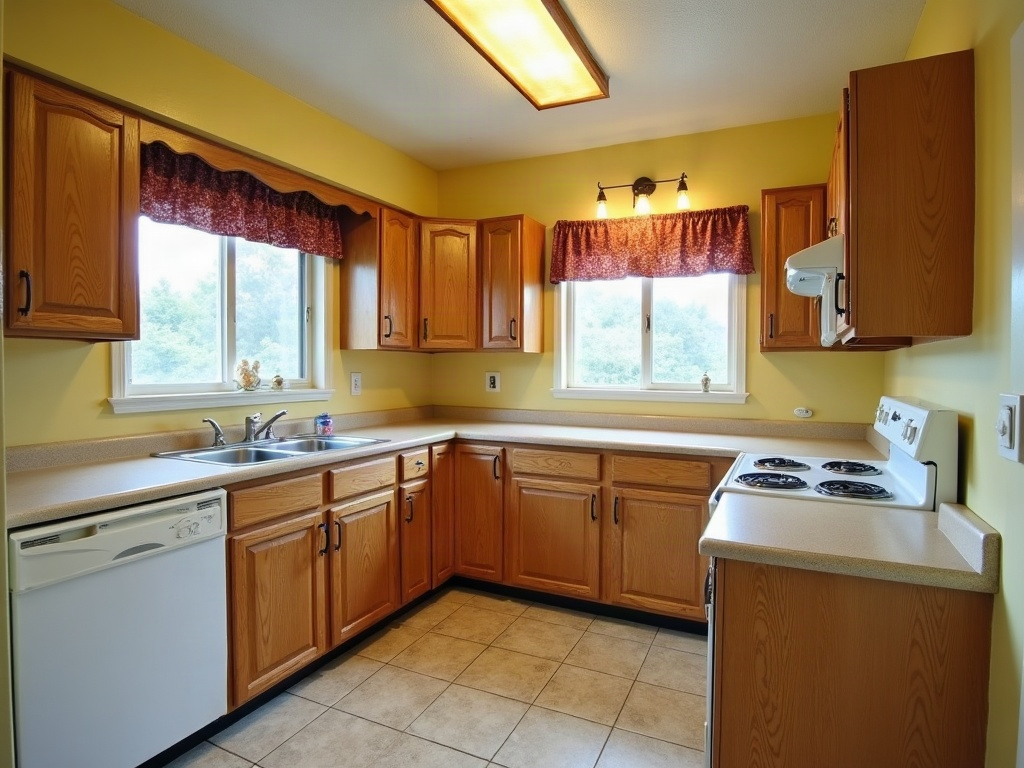 BeforeAI result
Sample: the original is an AI-generated demo room, edited with this tool.
Best for: Agents, photographers, property managers
More Photo Enhance & Upscale examples
Drag each slider to compare. These are AI-generated demo scenes, not customer properties. Review the changes and settings before trying your own photo.
 BeforeAfter
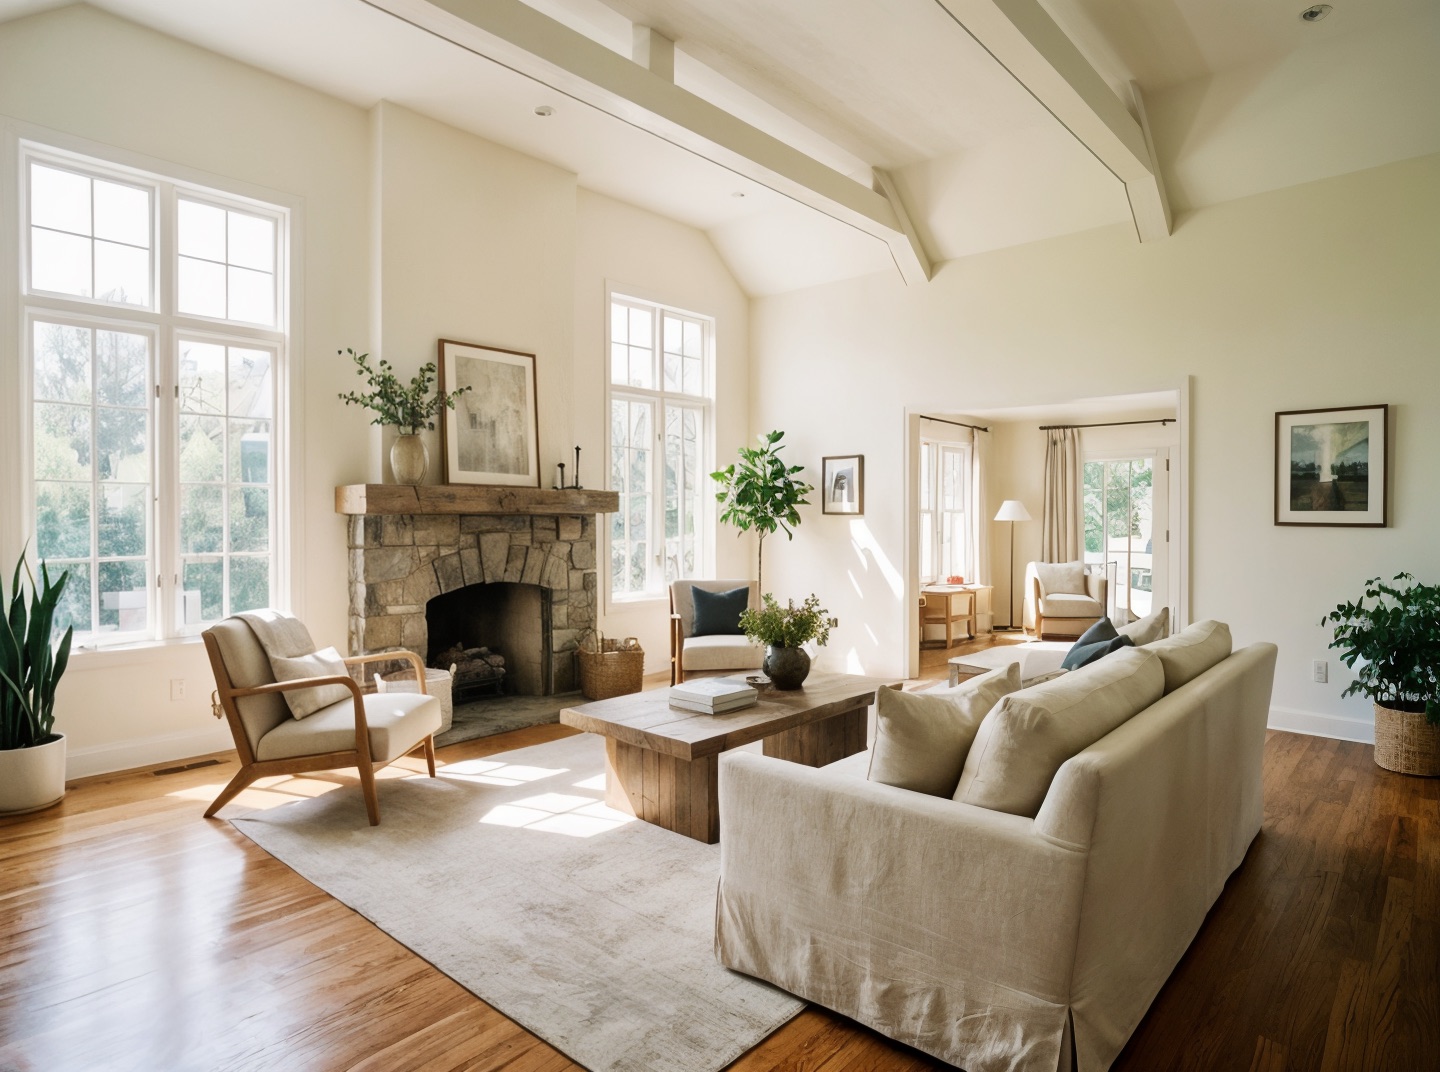
Living room detail enhancement
Compare window frames and furniture edges at the same viewing size.
Settings: 3x
Use this example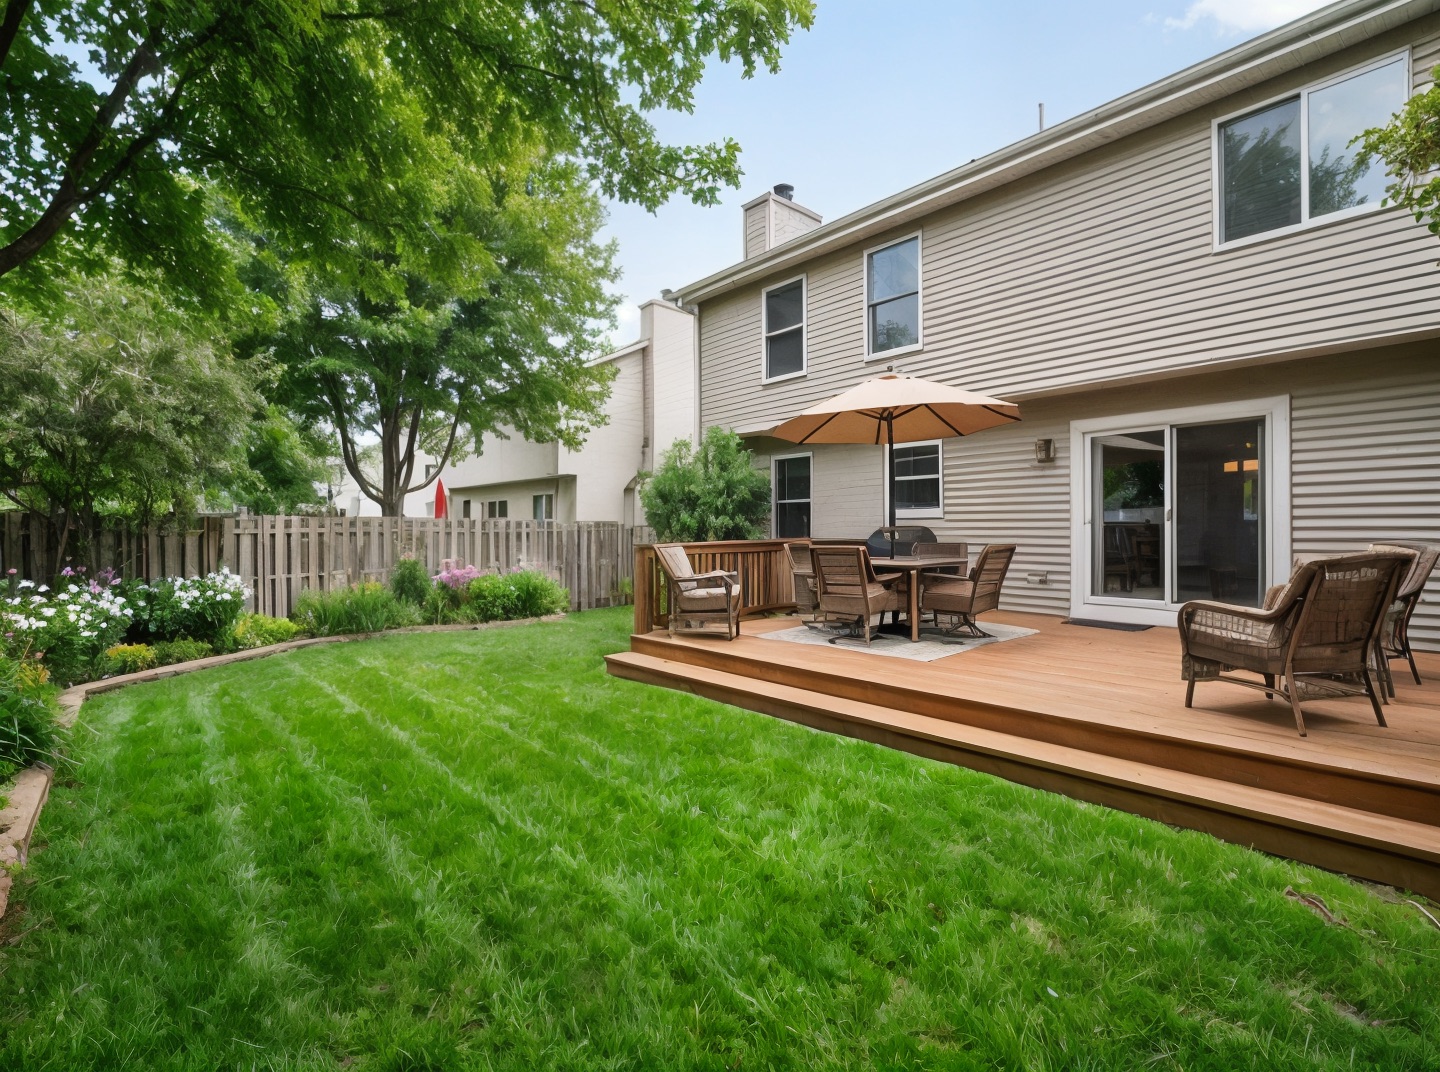
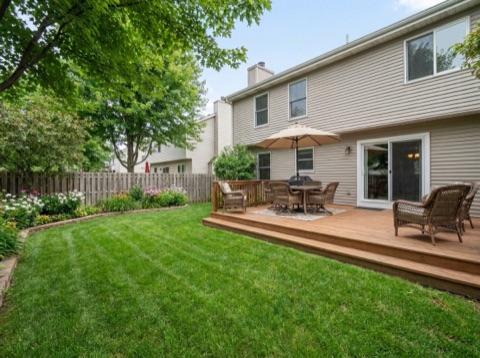 BeforeAfter
Garden and deck enhancement
Inspect foliage, deck boards and siding for artificial texture.
Settings: 3x
Use this exampleUse AI real estate photo enhancement to make small or slightly soft listing images larger and clearer. Upload a photo, choose 2x or 3x upscale, and compare the result in about 30 seconds. This tool focuses on resolution and detail rather than exposure blending or object removal. AI can exaggerate textures, so inspect the image before using it online or in print.
How it works
- 1
Upload your photo
Choose the original, uncompressed file if you have it. Interior and exterior photos both work.
- 2
Choose 2x or 3x
Pick 2x for everyday listing use, or 3x when you plan to crop in or print at a large size.
- 3
Generate
The tool upscales and sharpens the photo with the aim of retaining its contents. Results take about 30 seconds.
- 4
Review and download
Zoom in and compare with the original. Check textures and edges, then download the larger file.
What AI real estate photo enhancement includes
The tool upscales your photo by 2x or 3x and sharpens fine detail along the way. Edges of cabinets, window frames, tile lines and textures come out crisper, and the image has more pixels to work with when you crop or print it.
It does not restyle the room, change colors on purpose, or add objects. The goal is the same photo, just cleaner and bigger. Each enhanced photo costs 4 credits. Sign in and purchase credits to use this tool.
Who it is for
Most listing photos are fine for a phone screen. The trouble starts when the same file goes on a large monitor, a printed flyer or a window display, or when you need to crop in on one detail.
- Agents working with photos taken on a phone, or with older images from a previous listing.
- Photographers who need a larger file from a crop, or a backup for a slightly soft frame.
- Property managers reusing small rental photos across several sites.
- Anyone preparing brochures, postcards or signs that need a print-ready file.
Choosing a size for real estate photo enhancement
A 1,000-pixel-wide input becomes approximately 2,000 pixels wide at 2x or 3,000 at 3x. More pixels do not prove that more real detail has been recovered. For real estate photo enhancement, compare the original and result at similar display sizes, then inspect window frames, floor joints and foliage closely. Choose the smaller output if extra sharpening introduces halos or artificial patterns.
Preparing photos for real estate photo enhancement
Upscaling estimates finer detail from the available pixels. It cannot rescue a photo that is badly exposed or out of focus. Start with the best version you have.
- Use the original file, not a screenshot or a copy that has been compressed by a messaging app or social site.
- Choose 2x for most listing use. Choose 3x when you need to crop heavily or print large.
- Fix crooked verticals, crop and color first in your usual editor, then enhance as the last step.
- Photos that are slightly soft or low-resolution improve the most. Photos with strong motion blur improve the least.
- Well-lit rooms with even light give cleaner results than very dark photos with heavy noise.
Limitations: what a real estate HDR edit does that this does not
Be clear about what you are getting. Enhancement only sharpens detail. It does not fix crooked verticals or blown-out windows. It also does not blend bracketed exposures, which is what people usually mean by real estate HDR. If your windows are pure white in the original, they will still be white after enhancing.
Like any sharpening, it can sometimes make textures look a little too crisp, or invent fine patterns in areas such as carpet, grass or wood grain. Zoom in on the result at full size, compare it with the original, and keep the version that looks most natural.
Honest use in listings
The intended edit is resolution and detail enhancement, not a change to the property. Check the generated result for altered textures or features and follow the image-editing requirements of your listing service.
If a photo needs more than sharpening, such as removing clutter, staging furniture or changing the sky, use the matching tool and follow the disclosure guidance for that edit.
Frequently asked questions
Is this a full real estate photo editor?
No. It does one thing: upscale and sharpen. It does not straighten verticals, balance window exposure, replace skies or retouch objects. Use it alongside your normal editing workflow, ideally as the last step.
Does it work like real estate HDR?
No. HDR editing blends several exposures to show both the room and the view outside. This tool works on a single photo and only sharpens detail, so it cannot recover blown-out windows or very dark corners.
Should I choose 2x or 3x?
2x is enough for most listing sites and screens. Choose 3x when the original is small, when you need to crop in tightly, or when the photo is going to print.
Will it change anything in the room?
It is designed to keep the contents of the photo the same. Sharpening can occasionally exaggerate fine textures, so zoom in on the result and compare it with the original before you use it.
Can it fix a blurry photo?
It helps with soft or low-resolution photos. It cannot fully fix a photo with heavy motion blur or a missed focus point. Reshooting is the better option in that case.
Do I need to disclose an enhanced photo?
Check your listing service or brokerage requirements. This tool aims to improve resolution, but generated textures can differ from the original. Inspect both versions and do not publish an enhancement that misrepresents the property.
How long does it take and what does it cost?
About 30 seconds per photo. Each enhanced photo uses 4 credits. Sign in and purchase credits to use this tool.
Related tools
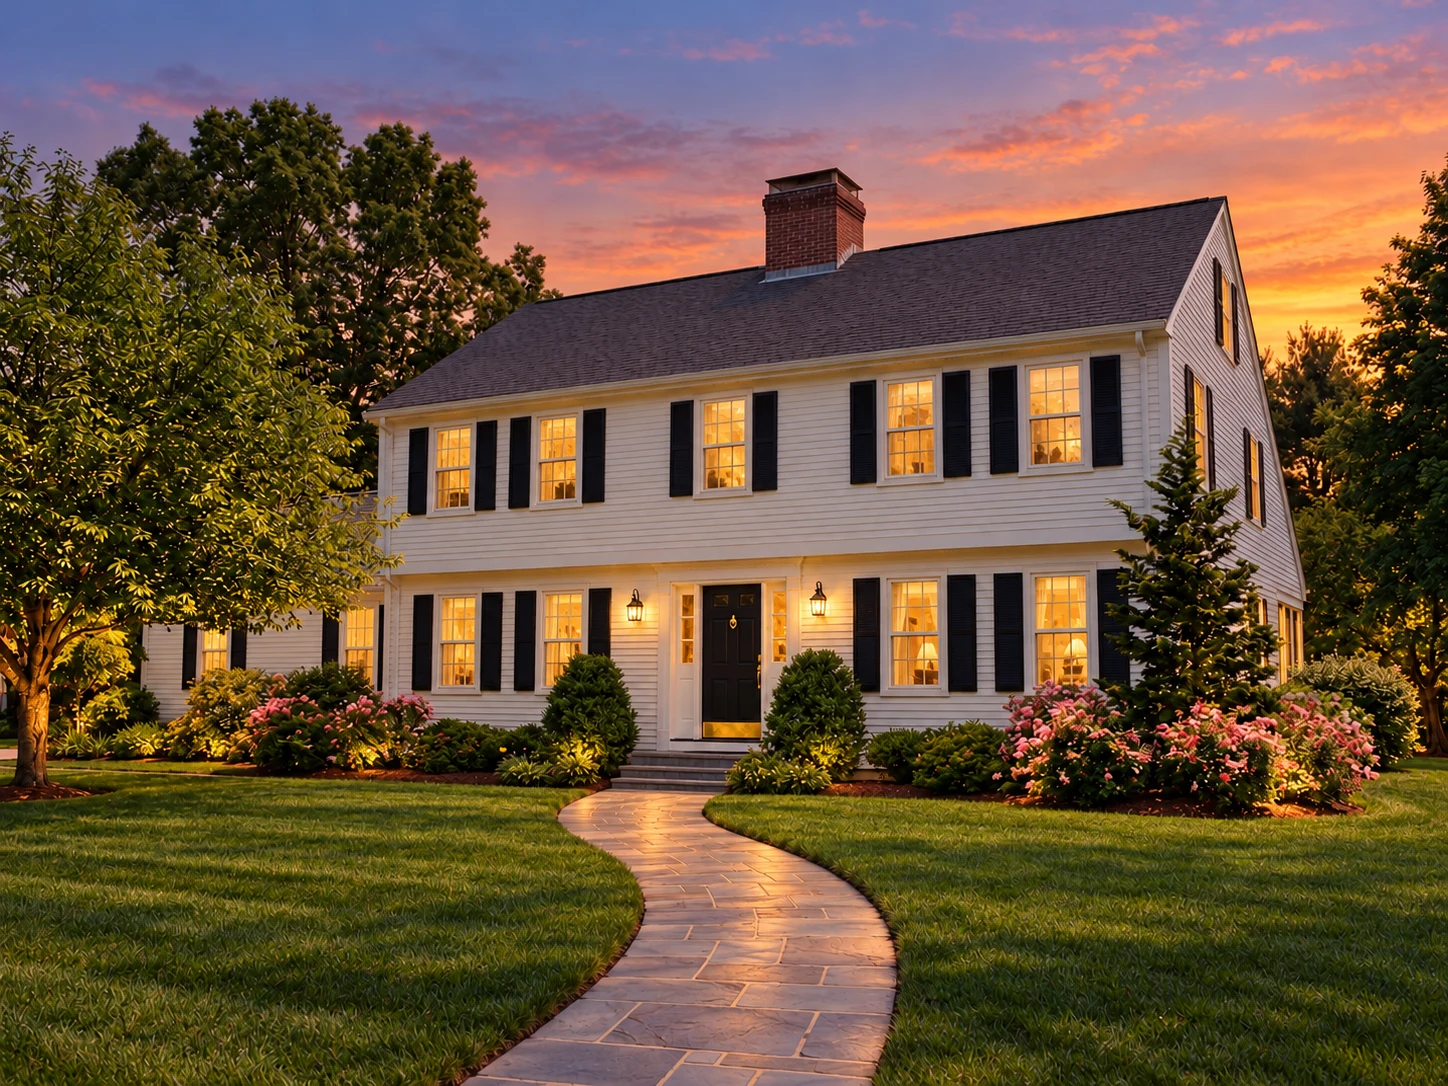
Day to Dusk
Turn a midday exterior into a glowing twilight hero shot.
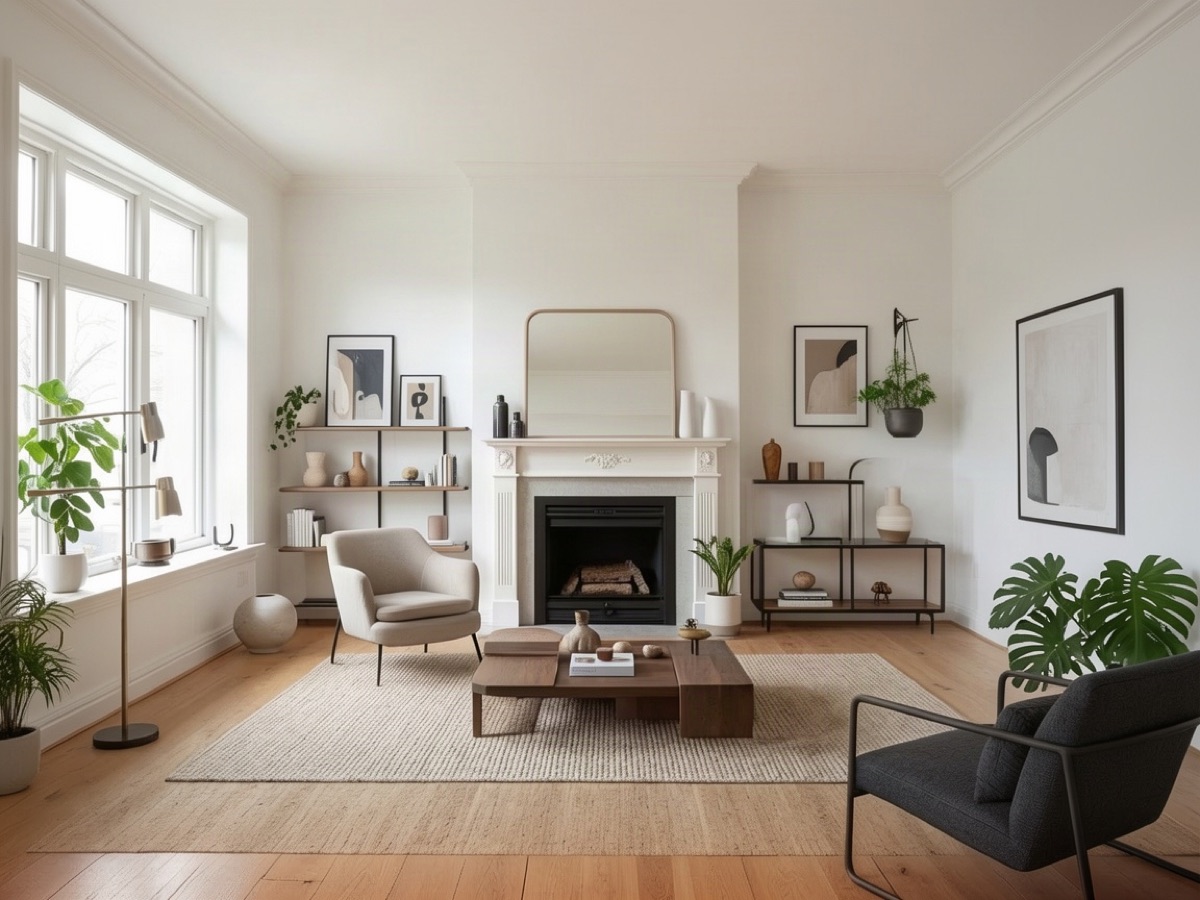
Virtual Staging
Turn empty rooms into furnished, buyer-ready listing photos.
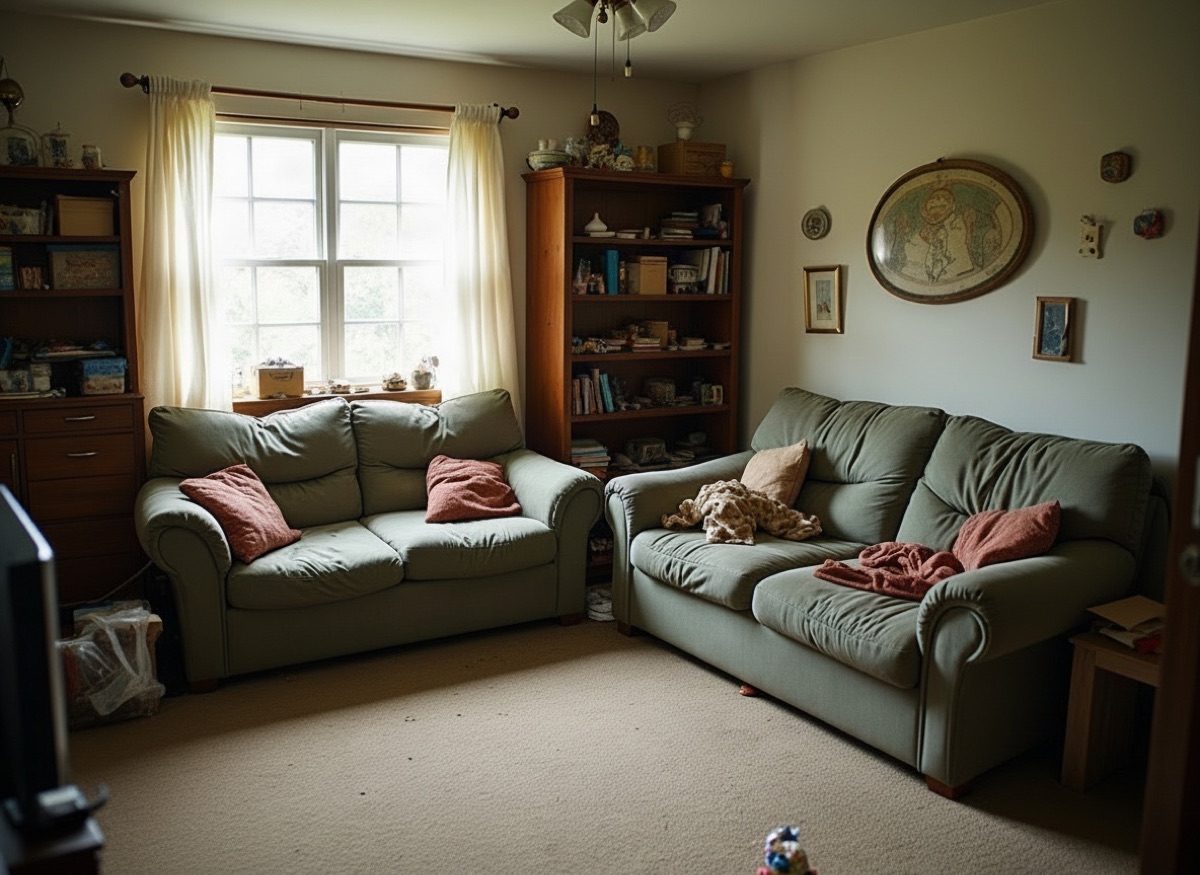
Declutter & Remove Furniture
Remove clutter, boxes and personal items, or clear a room entirely.
Photo to Video
Add a subtle camera move to a still photo for social and listings.