
Remove Furniture From Photo with AI
Tidy a lived-in room for listing photos, or remove all furniture to show the empty space. Compare the reconstructed surfaces with your original before using the result.
Usually ~40s. Sign in for 3 welcome credits. Credits per result: 1.
View credit packs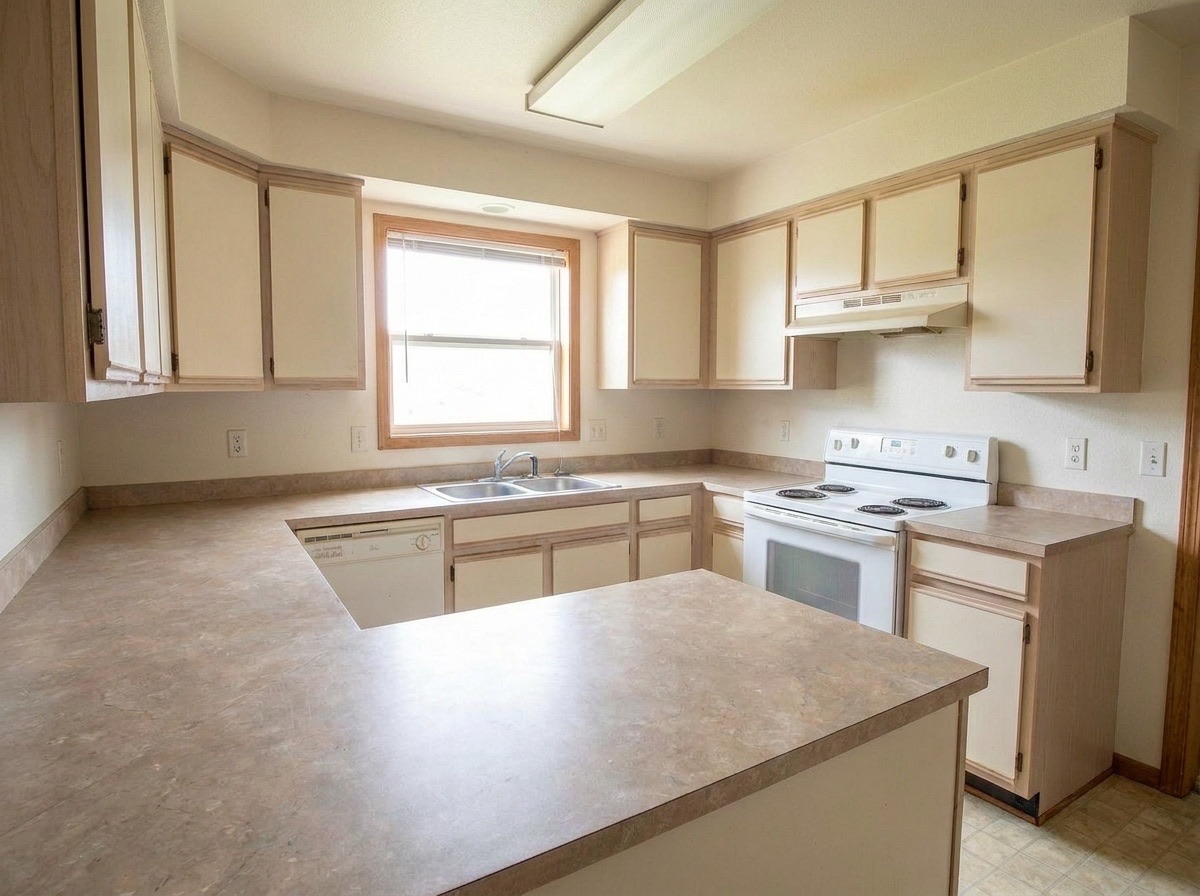
 BeforeAI result
Sample with your current settings (Clutter only (keep furniture)). The original is an AI-generated demo room.
Best for: Agents, photographers, home sellers
More Declutter & Remove Furniture examples
Drag each slider to compare. These are AI-generated demo scenes, not customer properties. Review the changes and settings before trying your own photo.
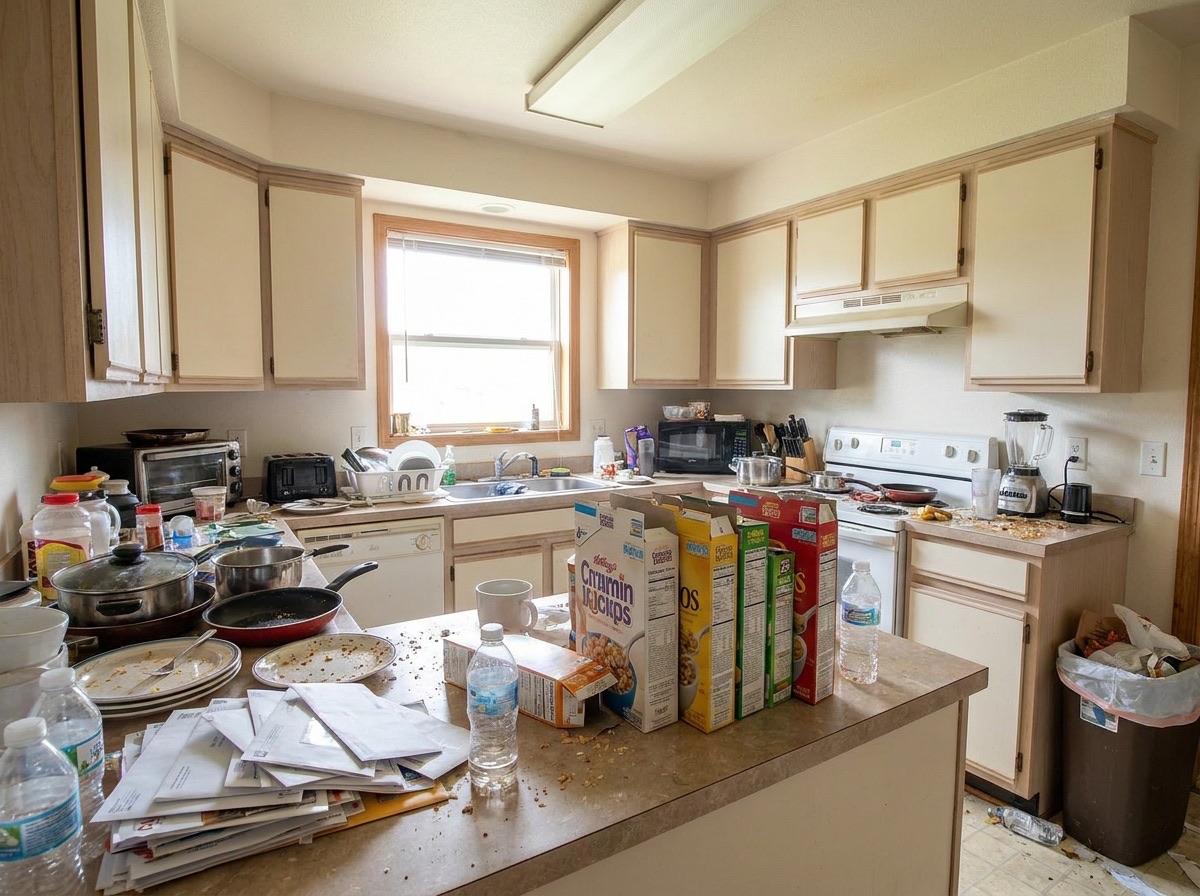
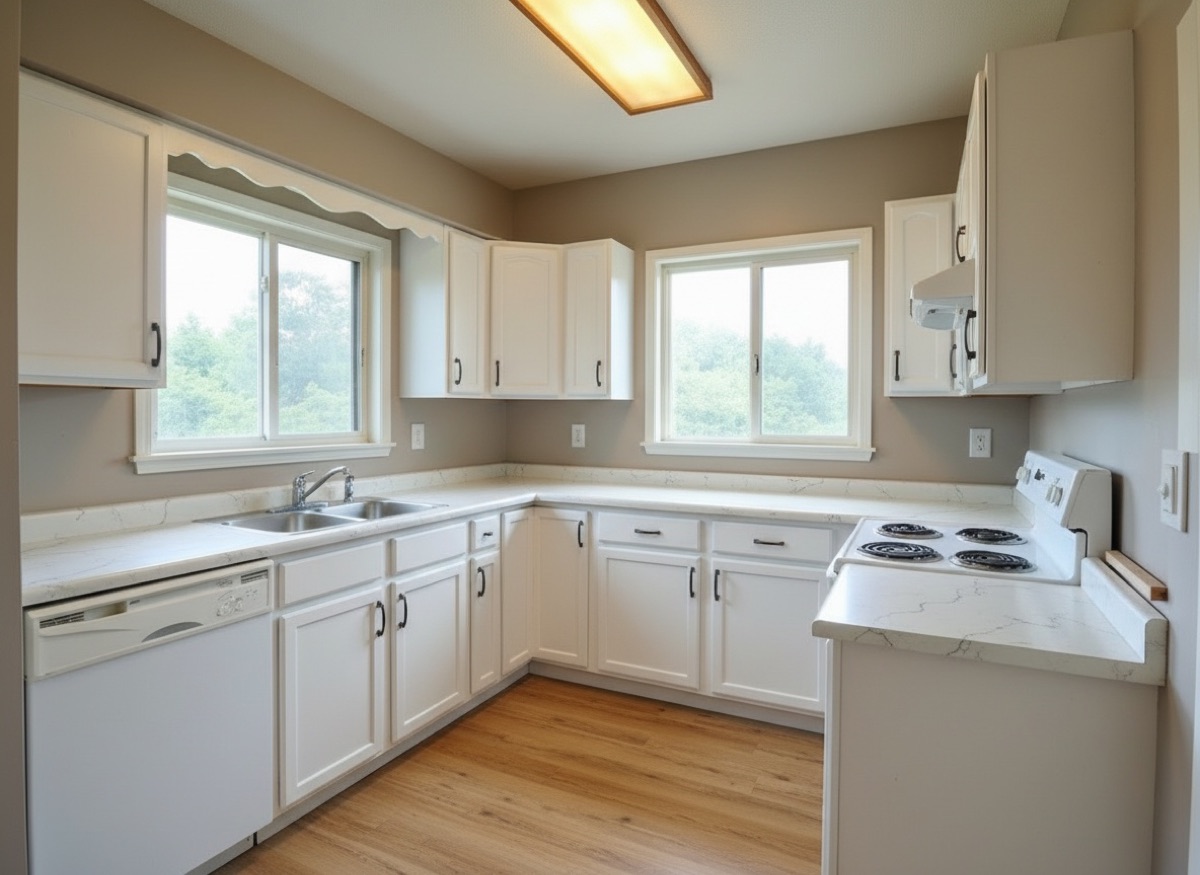
BeforeAfterKitchen clutter removal
Compare counters and floor areas while checking cabinet edges.
Settings: Clutter only (keep furniture)
Use this example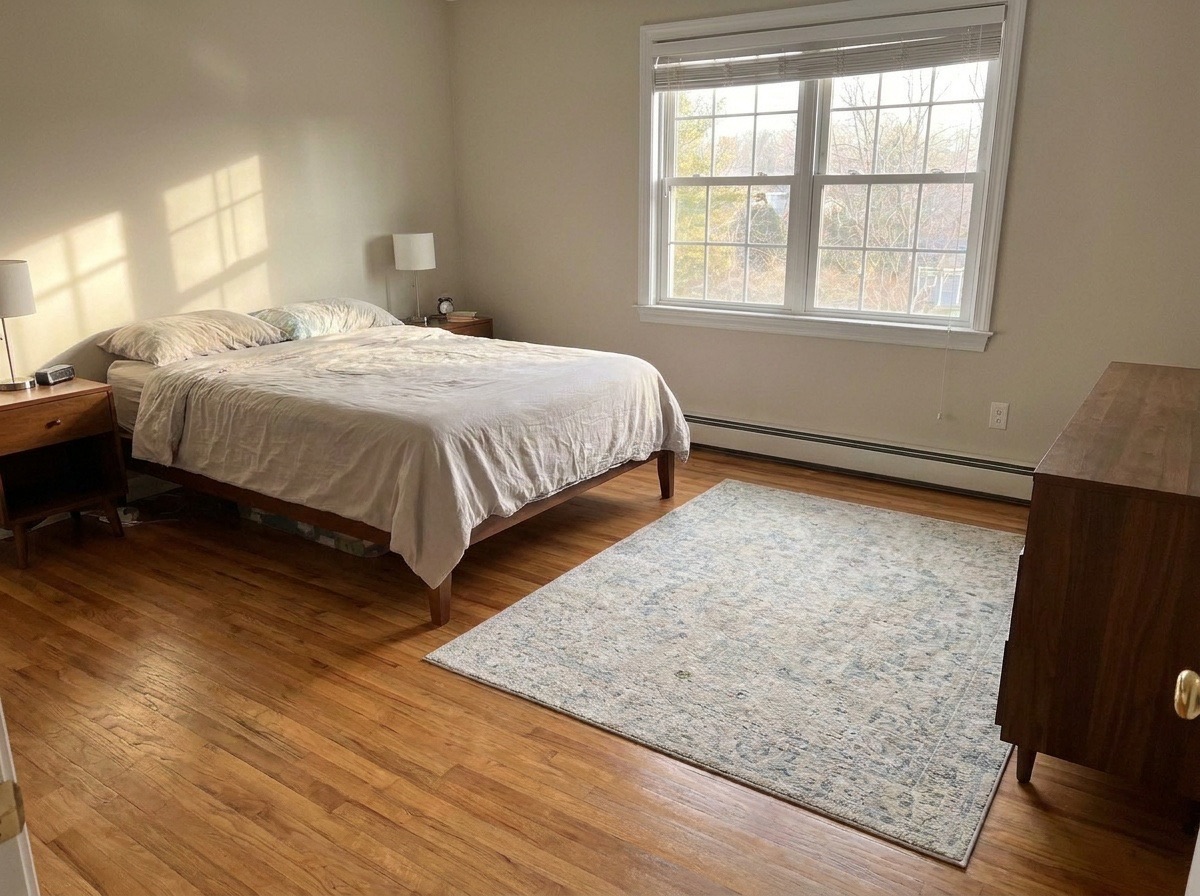
 BeforeAfter
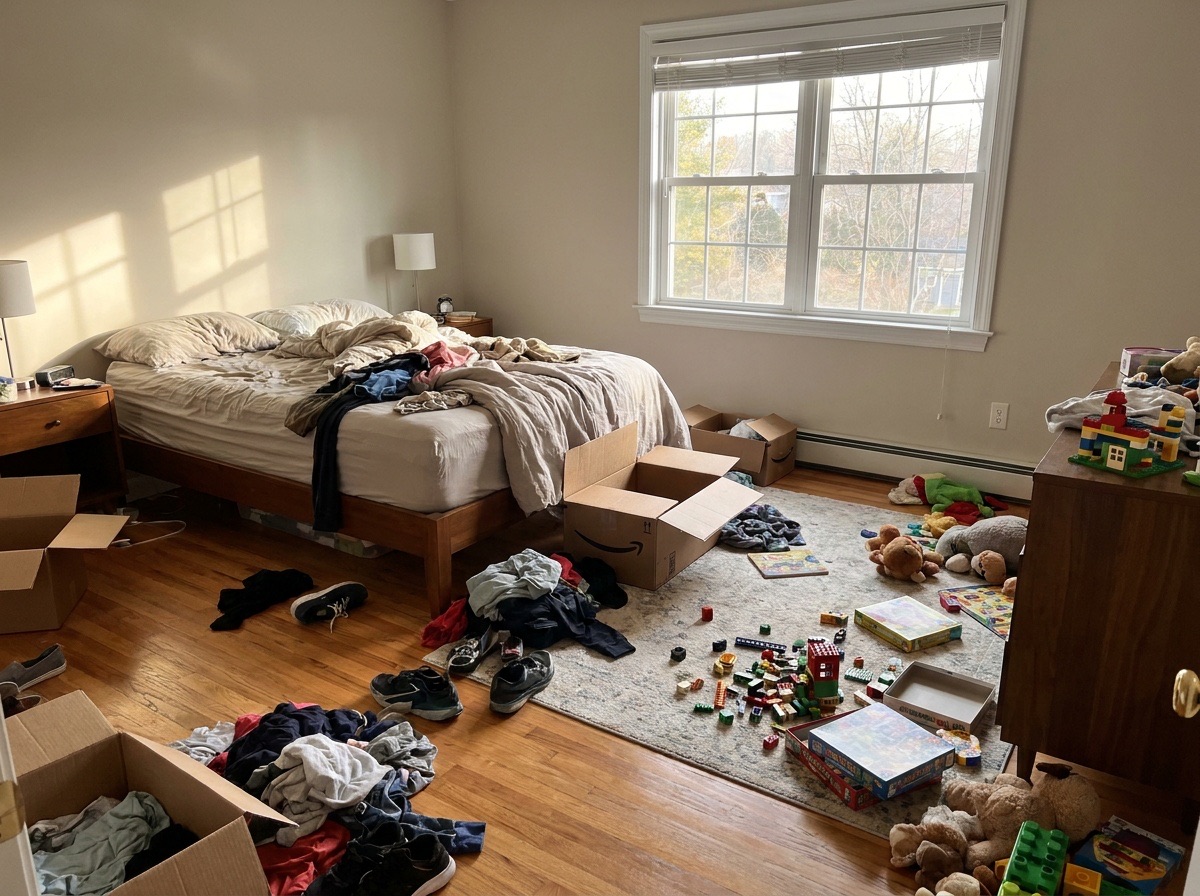
Bedroom cleanup with furniture kept
Compare the cleared floor with the retained bed and rug.
Settings: Clutter only (keep furniture)
Use this example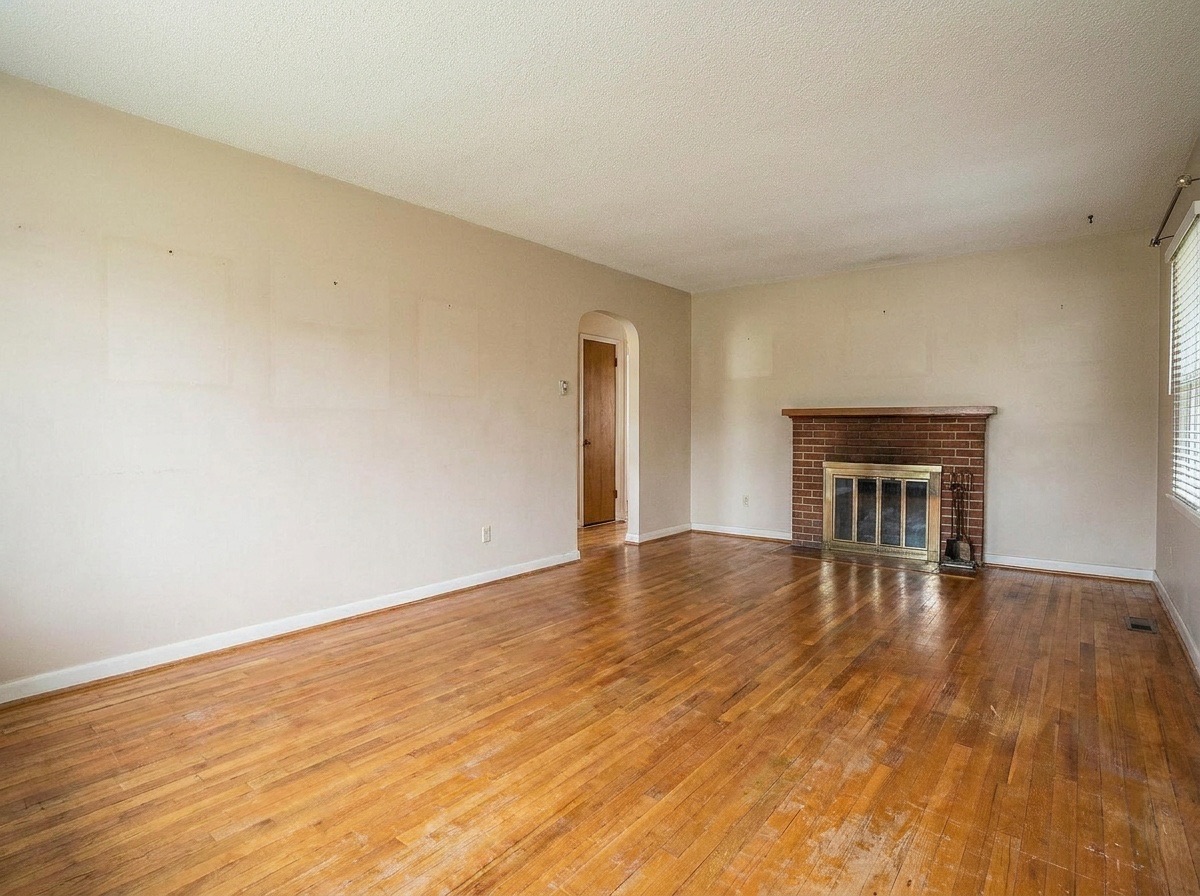
 BeforeAfter
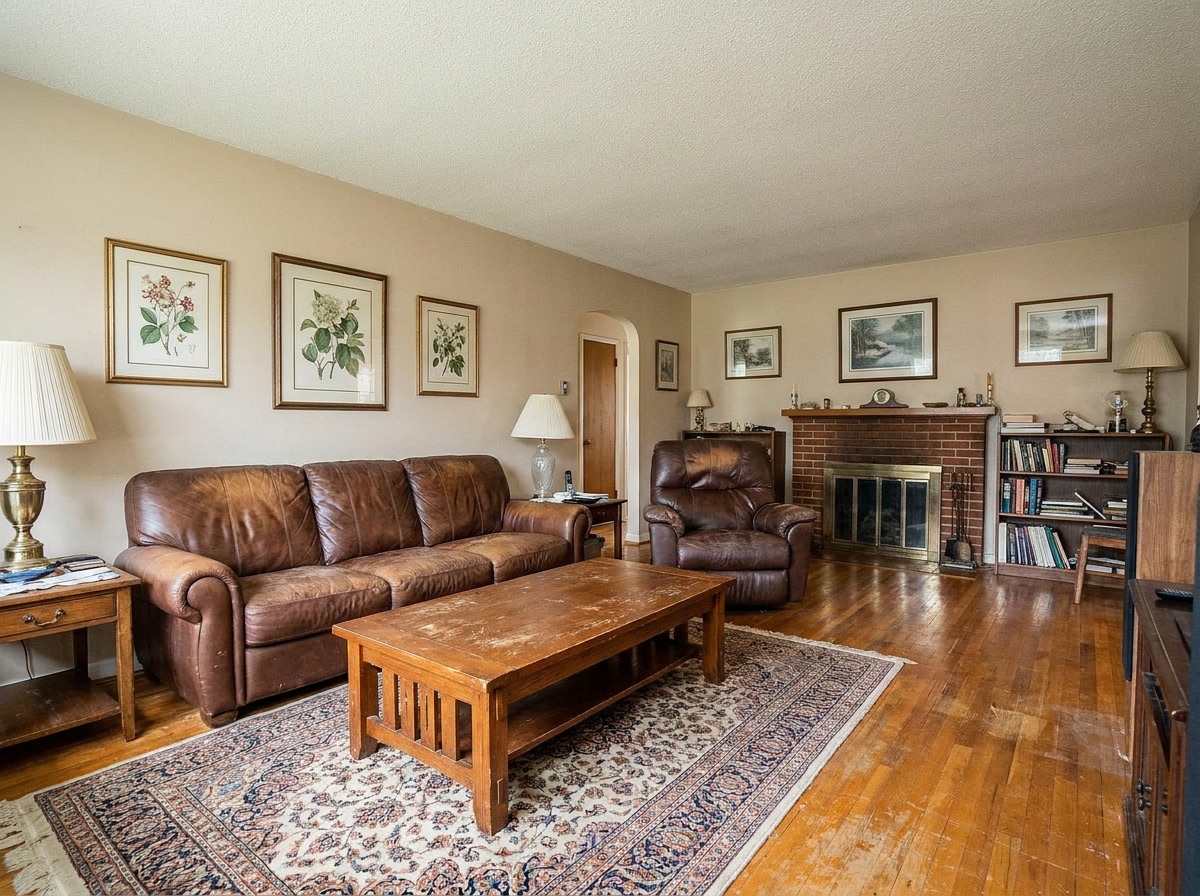
Living room furniture removal
Inspect the reconstructed floor around the fireplace.
Settings: All furniture & decor
Use this exampleRemove furniture from a photo with AI to preview an empty room, or choose a lighter cleanup that keeps the main furniture. ReSnapHome offers two modes for listing photos: Clutter only and All furniture & decor. Upload a well-lit room image and compare the result in about 40 seconds. Hidden surfaces are reconstructed, so check the floor, walls and fixed features before downloading.
How it works
- 1
Upload a room photo
Add a JPEG or PNG of the room. A wide, well-lit shot works best.
- 2
Choose what to remove
Pick Clutter only (keep furniture) or All furniture & decor.
- 3
Generate
The cleaned-up photo is ready in about 40 seconds. Each result uses 1 credit.
- 4
Review and download
Zoom in where items were removed, check floors, walls and outlets, then download.
Two ways to clean up a room photo
The tool has two modes. Pick the one that matches what you need the photo to do.
Clutter only (keep furniture) removes boxes, toys, trash, debris and loose personal items from floors, shelves, counters and furniture. The sofa, bed, table, curtains and wall art stay in place. Use it when the furniture is fine but the room looks lived-in.
All furniture & decor removes furniture, rugs, wall decor and loose objects so the room looks completely empty. The tool rebuilds the floor and walls that were hidden behind them. Use it when you want to show the bare space, or as a first step before virtual staging.
Who needs an empty room photo?
Listing agents use it when sellers are still living in the home and there is no time for a full clean before the shoot. Photographers use it to fix a stray laundry basket or a cluttered counter they missed on site. Home sellers use it to see how much better a tidy room looks, which can be a push to pack up before showings.
The All furniture & decor mode is useful for rentals between tenants, for homes with dated or worn furniture, and for anyone who wants to restage a room. Remove the old furniture, then send the empty photo to Virtual Staging and furnish it in a new style.
When to remove furniture from a photo
Use the kitchen and bedroom examples to judge clutter removal: counters and floors become easier to read while major furnishings remain. The living room example shows a full empty-room pass. If you remove furniture from a photo before staging, save that intermediate image and inspect it first. Any invented floor pattern or missing fireplace detail can carry into the next edit.
Tips to declutter photos for real estate
The tool works from what it can see. The more of the floor and walls are visible, the cleaner the result.
- Shoot in good, even light. Open the blinds and turn on the lights so the rebuilt floor and walls match the rest of the room.
- Keep the camera level and wide. Straight vertical lines make edits harder to spot.
- Do a quick manual tidy first if you can. Fewer objects means less for the AI to guess at.
- For full removal, pick photos where some floor is visible between pieces of furniture. A room packed wall to wall gives the tool little to work with.
- Patterned rugs and busy wallpaper are harder to rebuild than plain wood, tile or paint.
- If one run misses an item, retry from the original and compare both results; repeated edits can compound errors.
- Shoot every room you plan to edit from the same height, so a cleaned-up set of photos looks consistent in the listing.
Limits and how to check the result
Removing an object means the AI has to invent what was behind it. Usually that is plain floor or wall, and it looks right. Sometimes you get a smudged patch, a repeated floor pattern, a missing outlet or a shadow with nothing casting it.
Zoom in on floors and walls where objects were removed before you publish. Look for blurred textures, bent baseboards and missing outlets or vents. The tool is told to keep walls, windows, doors, ceiling, flooring, fixtures, lighting and camera angle unchanged, but you should still confirm it. If anything about the home itself has changed, do not use that version.
Disclosure: removing items vs hiding problems
Removing a box or a pile of toys is cosmetic. Removing a water stain, a crack or a damaged floor is not, and it can mislead buyers. Use this tool for clutter and furniture, never to hide defects.
Many MLSs and brokerages require disclosure when photos are digitally altered. Check your local rules. A caption like "Digitally decluttered: some items were removed from this photo. Original photo available on request." keeps things clear. Keep the original files in case anyone asks. Buyers who visit will see the real room, so the photos should match what they find, minus the clutter.
Frequently asked questions
Can I remove furniture from a photo and keep the room looking real?
Yes. The All furniture & decor mode removes furniture, rugs and decor and rebuilds the floor and walls behind them. Results are best when the room is well lit and some floor is visible.
What does Clutter only remove?
Boxes, toys, trash, debris and loose personal items on floors, shelves, counters and furniture. Main furniture, curtains and wall art stay.
Is there a free option?
Sign in and receive 3 welcome credits for up to three standard photo edits. After that, each cleaned-up image uses 1 credit.
Can I stage the room after removing the furniture?
Yes. Download the empty result and upload it to Virtual Staging to furnish it in a new style.
Can I use it to remove stains or damage?
No. Hiding defects in listing photos can mislead buyers. Use the tool for clutter and furniture only, and disclose edits as your MLS or brokerage requires.
Related tools
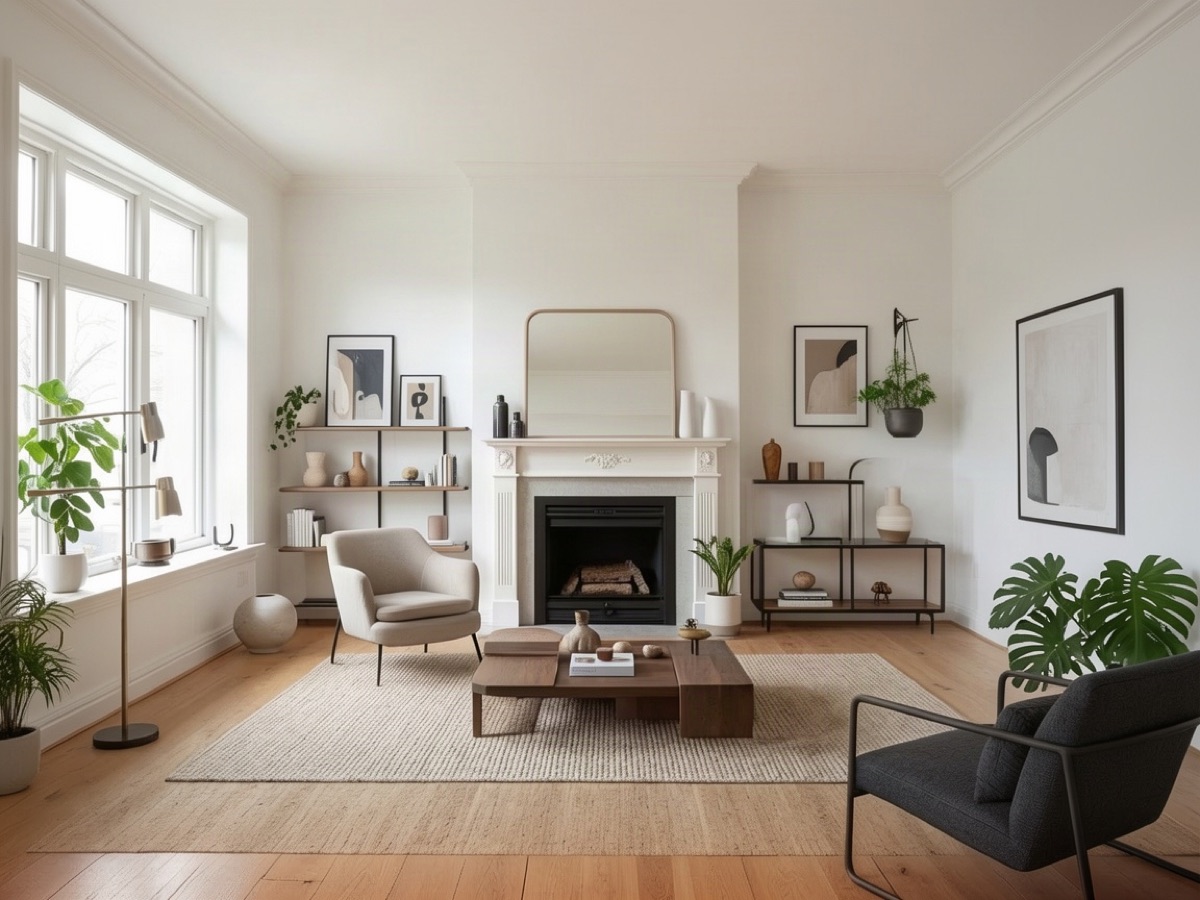
Virtual Staging
Turn empty rooms into furnished, buyer-ready listing photos.
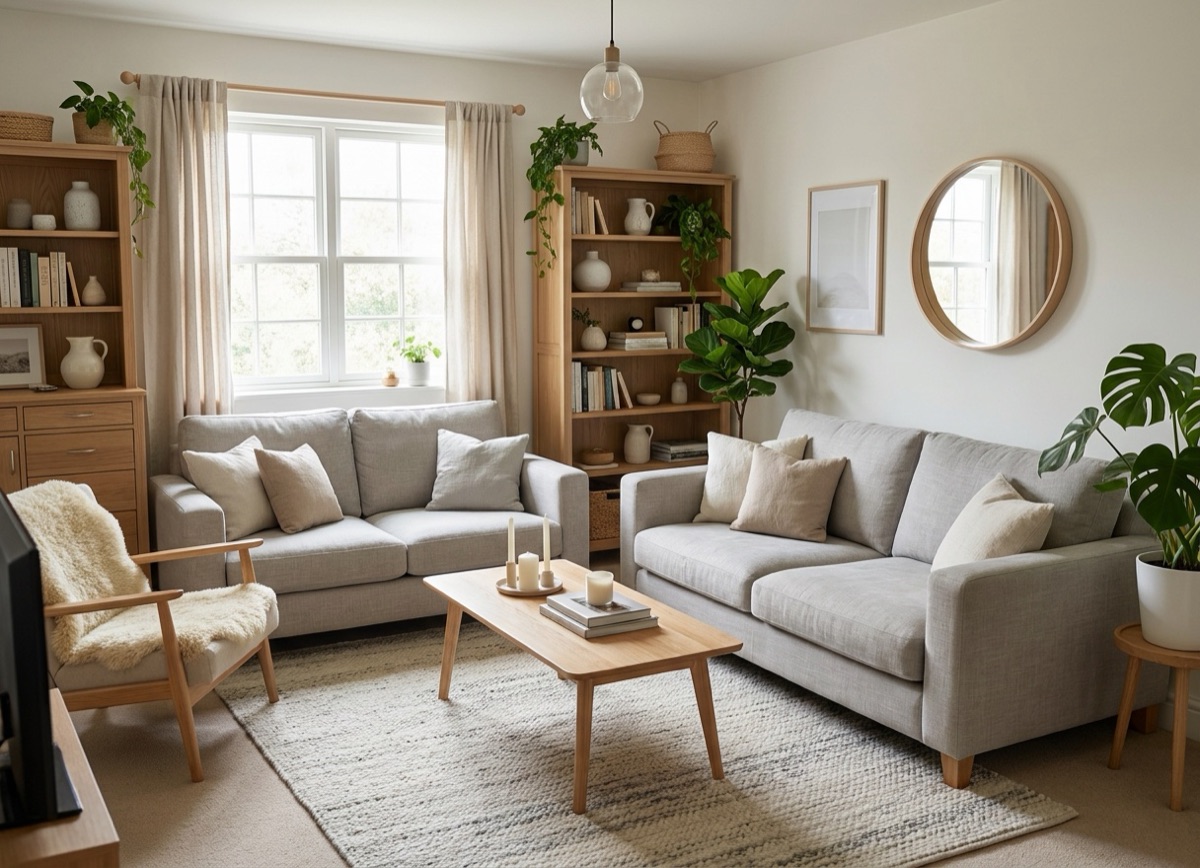
AI Room Redesign
Upload a photo of your room and see it redesigned in a new style.
Renovation Preview
See the room after the remodel, before you pay for it.
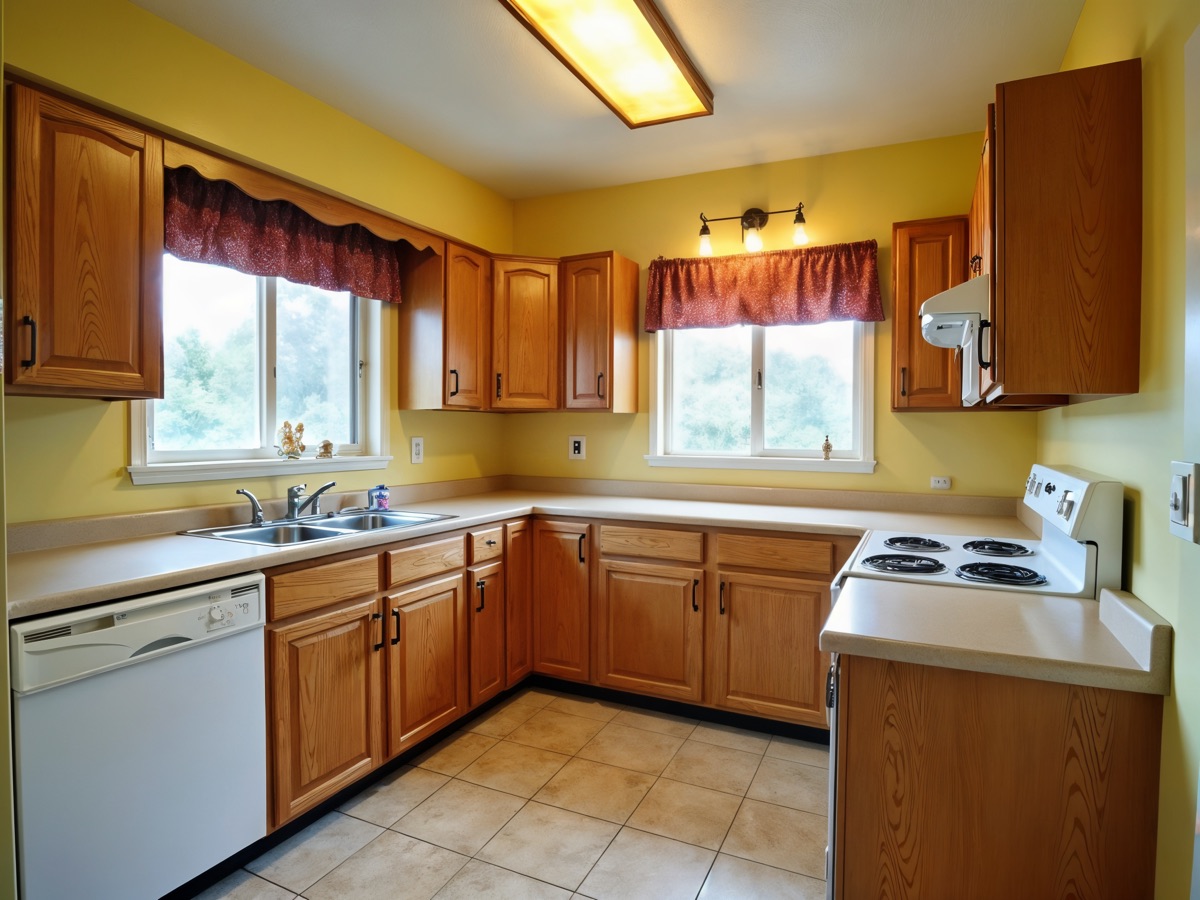
Photo Enhance & Upscale
Upscale and sharpen listing photos to print-ready resolution.